Today is the day! I’m revealing my DIY painted bathroom cabinets! And, what’s even better, you get to learn how to DIY perfectly painted bathroom cabinets in a day!

DIY PERFECTLY PAINTED BATHROOM CABINETS IN A DAY
Getting a project done and being totally pleased with it is amazing, don’t you agree?
And when it’s done in a day, even better! Right?!
Well, just you wait to see what you can do to improve your bathroom in a day!
Not-So-Pretty Large Apartment Bathroom
When you enter a 400 square foot loft apartment and ask to use the bathroom, you kinda’ expect to be greeted by a teensy-weensy cracker box of a room with a shower the size you find in most RVs…
Not so at My Wee Abode!
When I moved into MWA a little over 4 years ago (oh my, time sure does fly), I was very happy with the size of my bathroom… and shower!
The bathroom is the same size as most medium-sized homes’ guest bathrooms. Plenty of space to move around, a high-standing vanity with counter space, and a shower with room for not one built-in shower seat, but TWO! Y’all, I’ve never had a shower this big! I LOVE it!
But, there are several things I don’t love about my ‘spacious’ apartment bathroom. The first eye-sore one I’m tackling is…
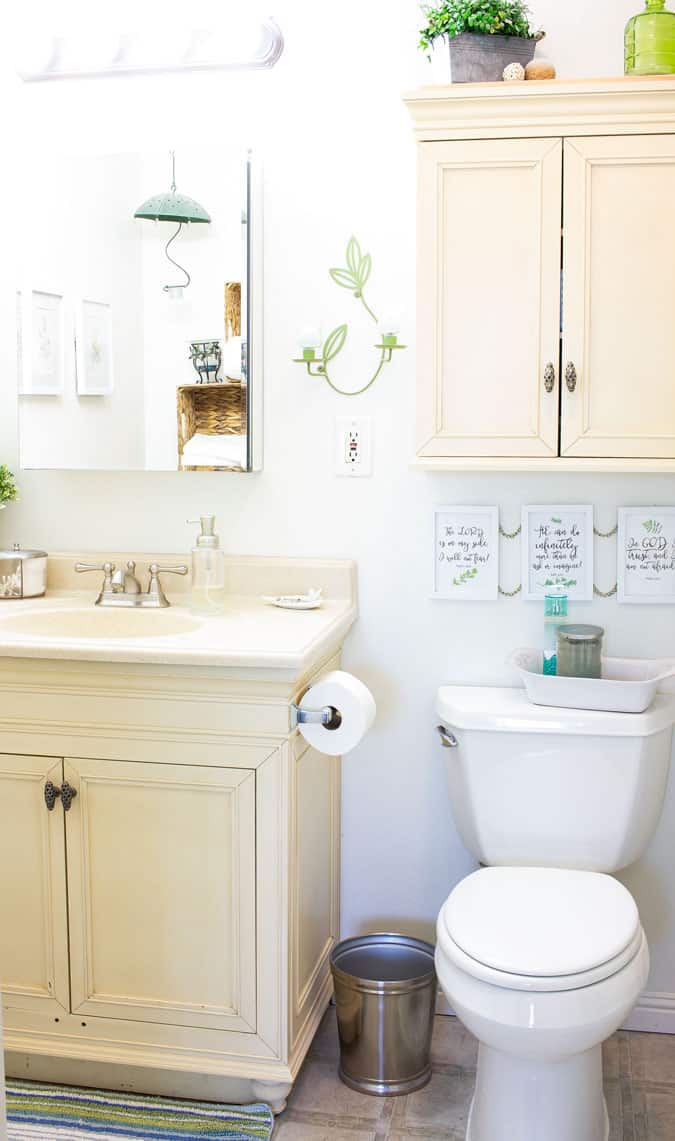
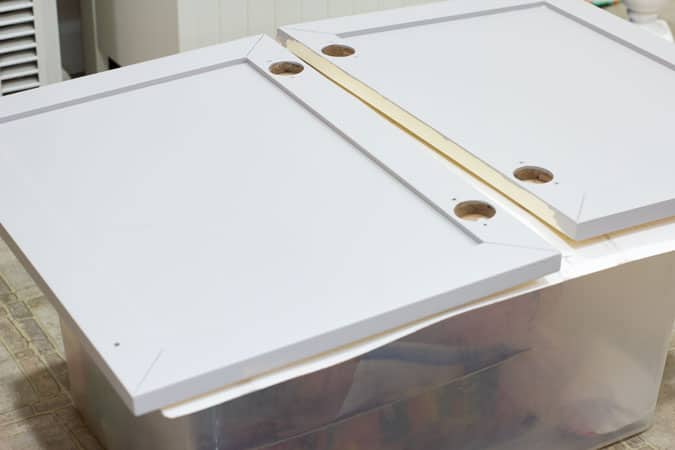
Yep… those are cream-colored painted cabinets. You might even call them a pale yellow.
Can You Update Cabinets in a Rental Home?
Wellll, yes, and no. 
I know… that’s not a very good answer! Painting bathroom cabinets in a rental home is definitely an option… IF your landlord says you can!
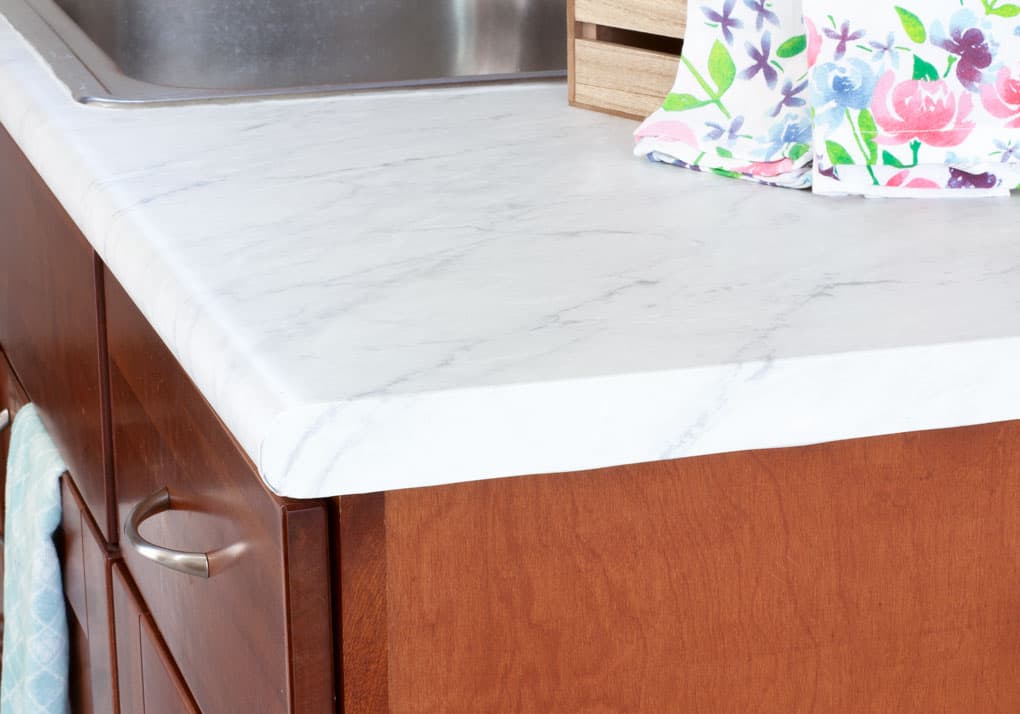
Or, you can first DIY Cheap Countertops with Contact Paper (it’s removable), and ask your landlord what they think! (You can’t see, but my eyebrow is raised as I’m typing this)….
Then, when they say, “It’s fine, as long as it looks good it’s fine”, (what an answer, right?!) you can upgrade your (yellow) apartment bathroom vanity and make a plan to show your landlord the next time they come by!
And if they love them (which they will), you then ask if you can paint the kitchen cabinets! (Now I look like this.) And, if they hate them (which they won’t), you can replace the the MDF cabinets at a minimal cost when/if you leave!
So, now that that’s clear (as mud) let’s get to the painting!
DIY Painted Bathroom Cabinets in Your Apartment
There are lots of different bathroom cabinet painting techniques. Today, I’m sharing what I use and how I achieve a smooth painted finish.
But before you start painting, be sure to first make cabinet repairs the easy way, as well as take 5 steps to prep your bathroom cabinets for an amazing paint finish.
What You’ll Need for Perfectly Painted Cabinets
- Nuvo One-Day Cabinet Paint Kit (I used Driftwood)
- 320 grit sandpaper
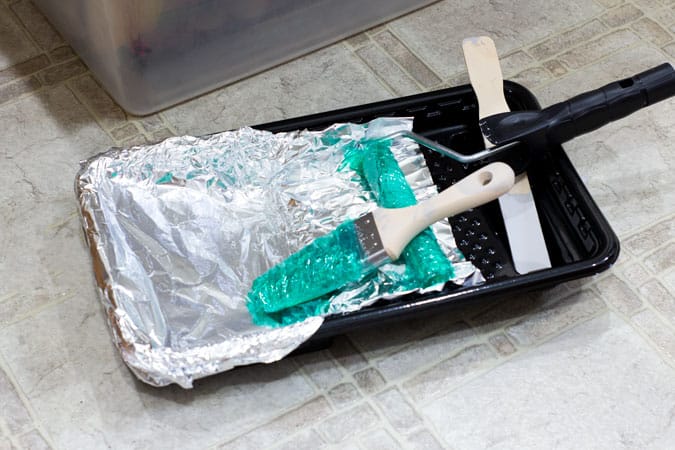
- Paint tray
- Zibra Paintbrush (optional, but it’s SO worth it)
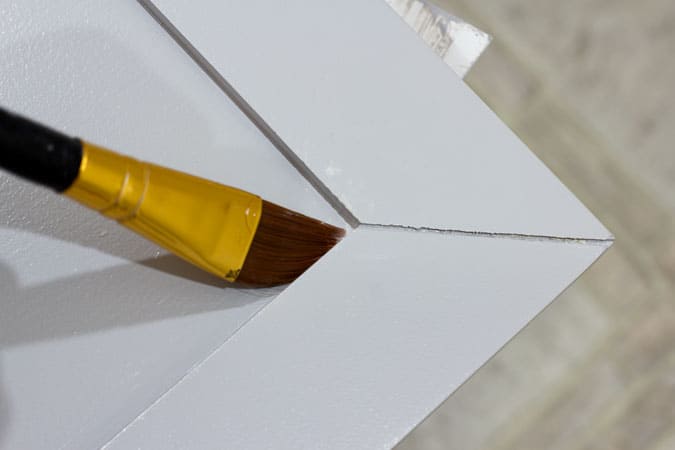
- Small art paintbrush (for tight spots on the cabinet… I use these brushes ALL the time)
- Phillips head screwdriver
- Paint Can Opener or flathead screwdriver
- Cabinet hardware (new or removed during the prep time)
Can I Paint My Cabinets with Chalk Paint?
Yes, you can paint just about any surface with chalk paint. However, after doing some research, I decided to try what I now call my ‘secret weapon’:
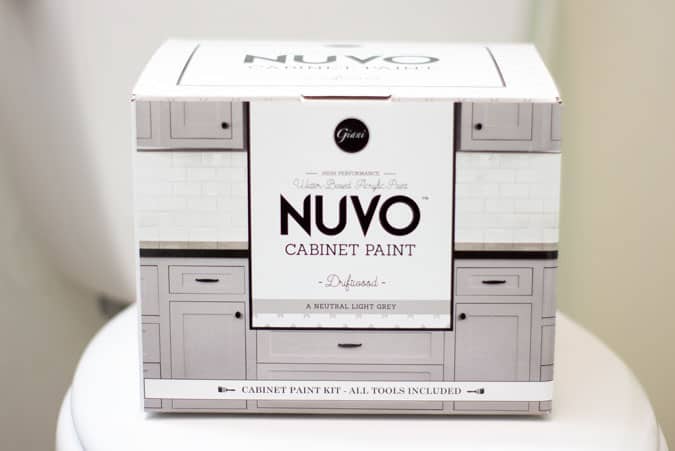
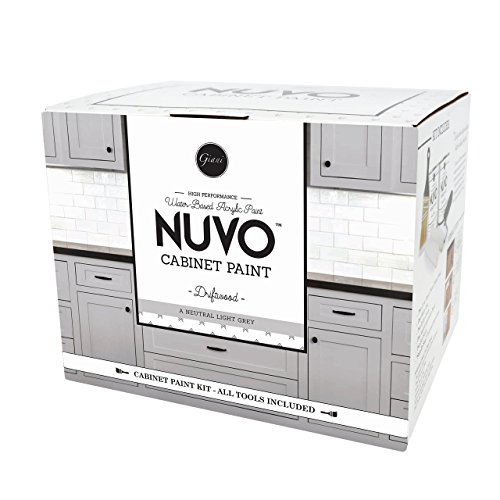
In my humble opinion and experience, the best paint for bathroom cabinets is the NUVO Cabinet Paint Kit.
This affordable kit comes with just about everything you’ll need to paint your bathroom or kitchen cabinets in one day! (Almost everything, except the items listed above. And the kit DOES come with a brush, but if I had to do it again, I would definitely use my Zibra paintbrush and maybe even my round Zibra brush for the trim areas… actually no maybe about it.)
The kit includes enough paint to cover 100 square feet of surface and multiple cabinets (this does not include the insides of the cabinets). There are two quarts of paint, offered in an array of classic and trending bathroom cabinet paint colors. My cabinets only used one full can (I opted to do two full coats for durability.)
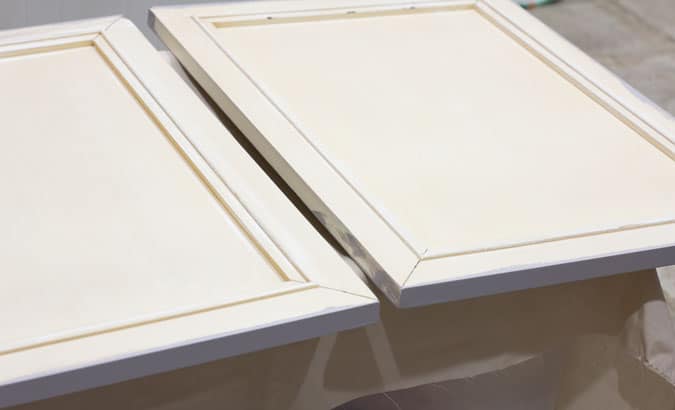
Because the paint is ‘self-leveling’, when applied as directed in their instructions and helpful Youtube videos, you get an amazingly smooth, slight semi-gloss finish. Here’s my cabinet door when I first applied the paint.
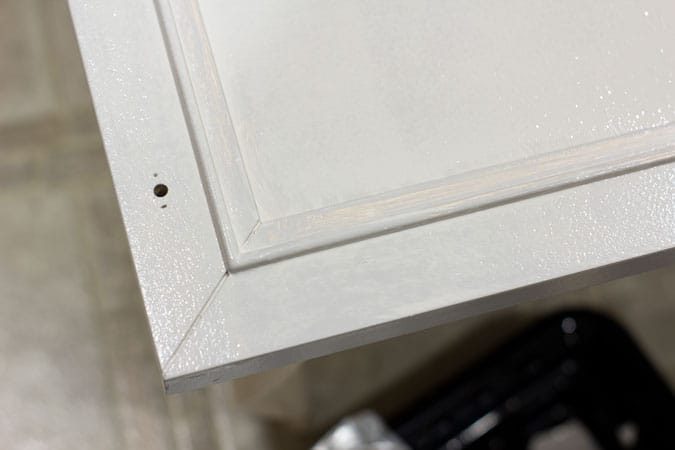
Later in the post, you’ll see the wonderfully smooth finish!
Do I Need To Seal Painted Cabinets?
When you use the NUVO Cabinet Paint kit, you don’t need to seal painted cabinets, whether they are in the kitchen or bathroom! The paint is so durable, and the sheen is so perfect, no sealer is needed.
Today, I actually jammed something into the bottom of my newly painted laminate cabinet, and it didn’t hurt the finish at all! Phew!
Best Tips on How To DIY Painted Bathroom Cabinets
Now for some tips on how to update bathroom cabinets to get a perfectly painted finish! (For your convenience, detailed printable tips and instructions are at the bottom of this post.)
Do the Prep
- Be sure to repair any chips or large holes in your cabinet frames and doors.
- I cannot stress this enough… take the time to thoroughly prep your cabinets for painting. The paint will bond better and you won’t get chips when you knock something into them.
![😉]()

Do Your “Homework”
- Watch the Youtube videos provided by NUVO in their instructions. It will help teach you how to paint bathroom cabinets like a pro.
- Paint in temperature between 65-77 degrees Fahrenheit. Sometimes this means painting at night, which ends up taking more than a day (ask me how I know that).
Paint Your Bathroom Cabinets
- Because I opted to take the doors and hinges off the frames of my cabinets, the process took me a total of two days for drying times. If you opt to leave the doors on the frames, as NUVO suggests in their videos, it will take you one day.
- Paint the doors first, then the frames… this saves on time. Let dry for two hours.
- After the first coat on the doors has dried, paint the second coat. Then paint the second coat on the frames. Make sure they dry for two hours between coats!
![😉]()
- Now the fronts of the cabinets need to be painted!
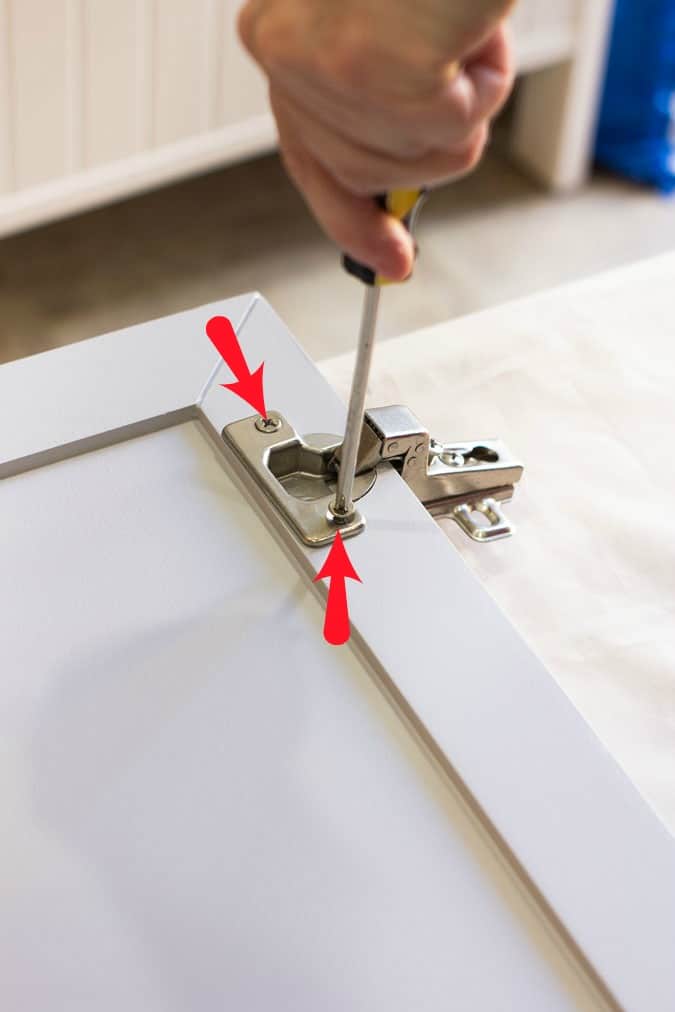
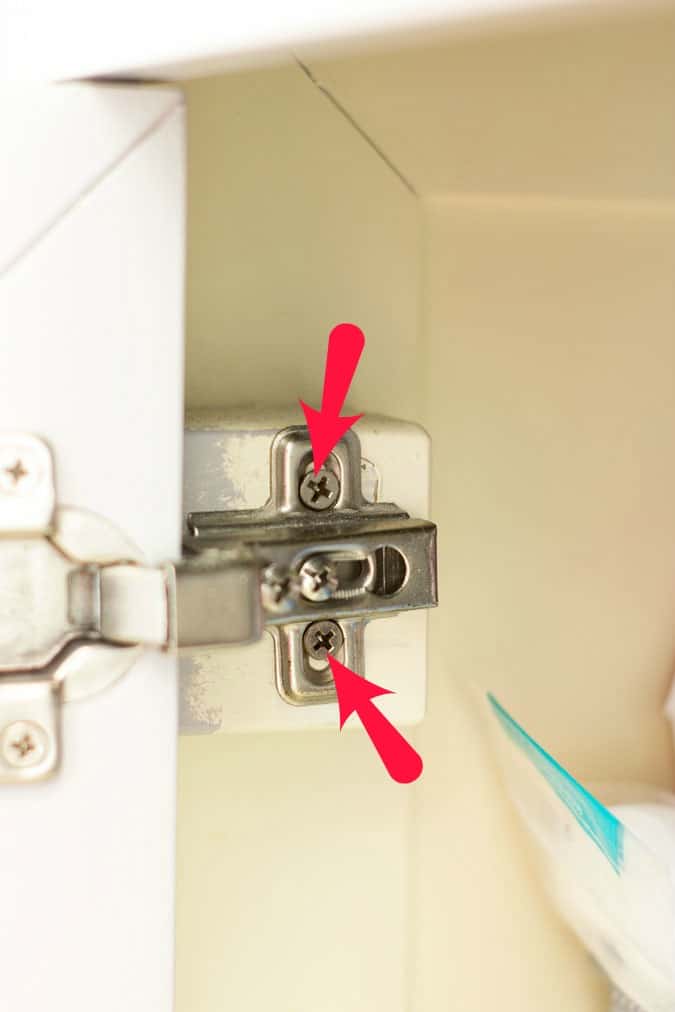
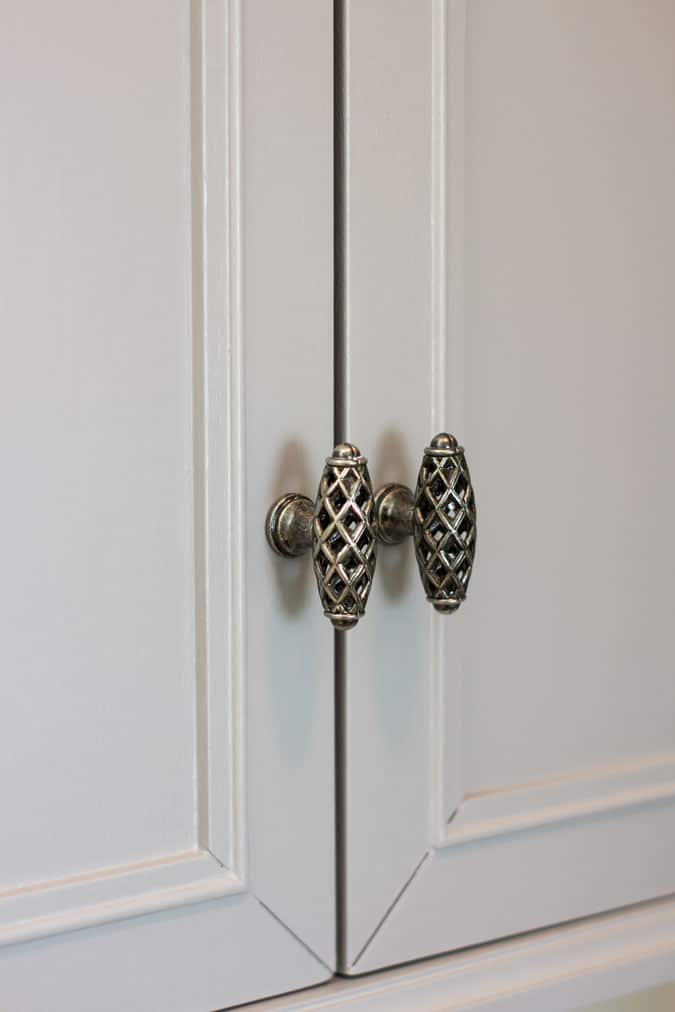
- Paint the fronts of the doors a second time, wait 8 hours before reattaching the doors and hardware. (Removing and reinstalling hardware is easy… it’s just a few screws (see arrows)).
- Wait two weeks before cleaning cabinets.
DIY Perfectly Painted Cabinets In a Day (Almost) – The Results
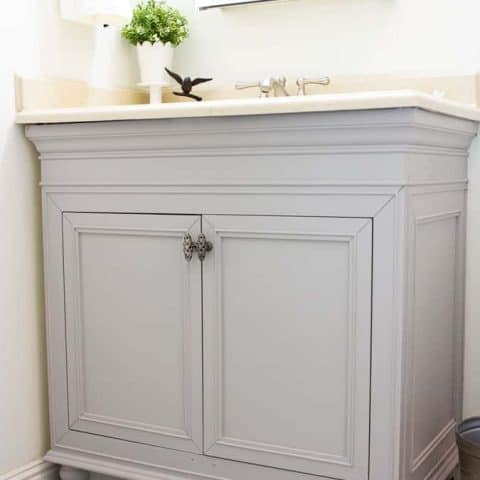
So now you get to see what my secret weapon to painting cabinets looks like after they have cured overnight!
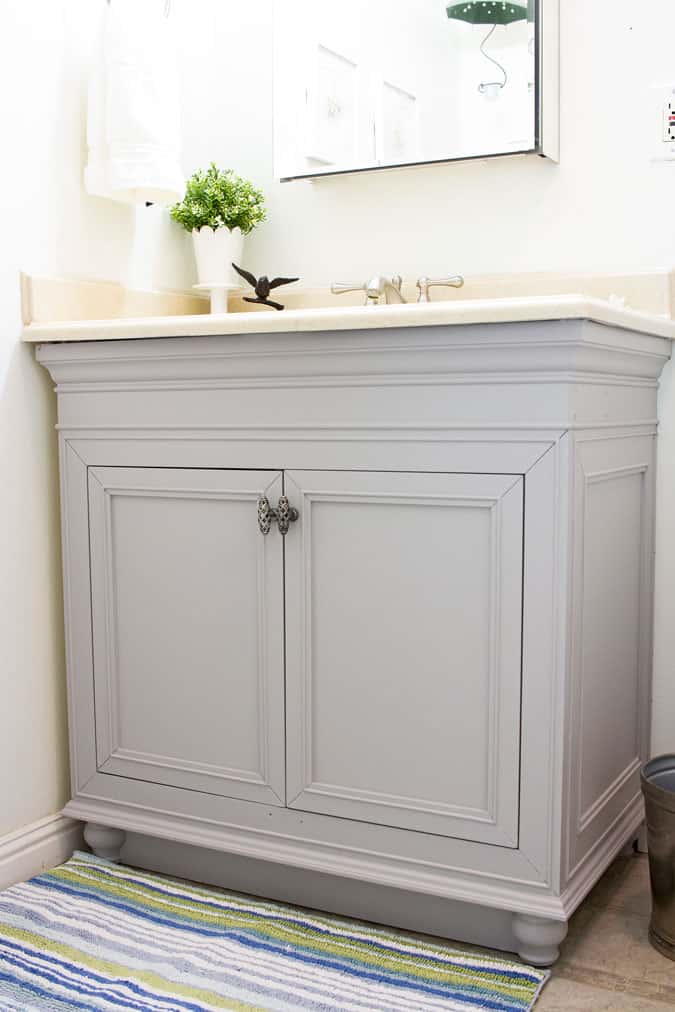
I’m in love! Big difference, right?
I’m not going to show you a full reveal today, as I still have lots to do to complete my Modern Coastal Bathroom Makeover. But here are some closeup shots so you can see the fabulous paint finish on these MDF cabinets.
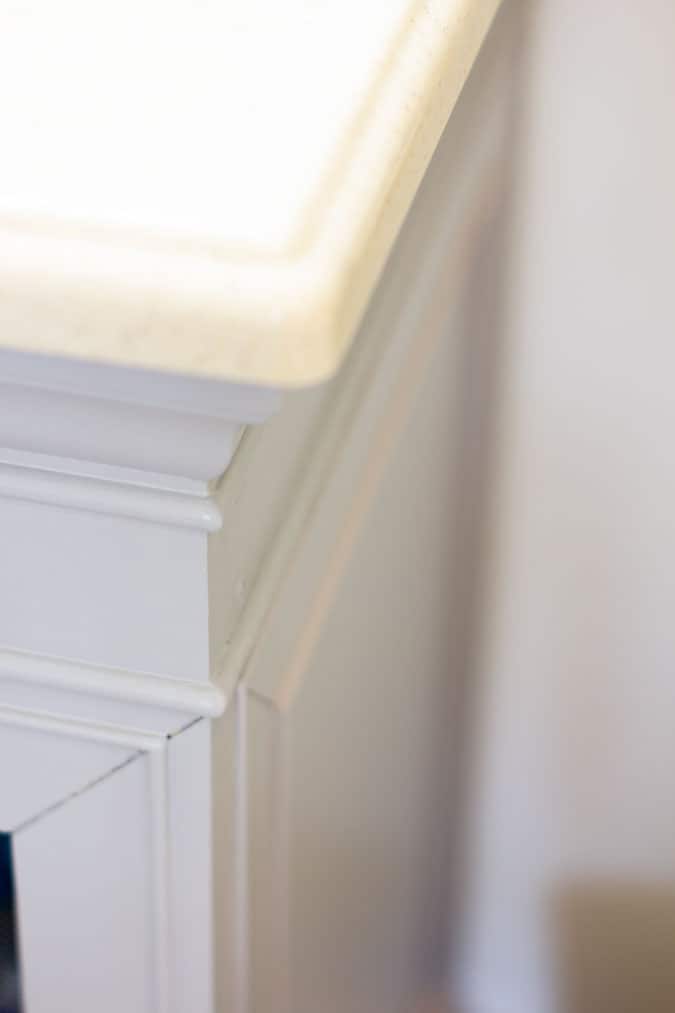
The finish is smooth and even, thanks to the self-leveling paint from NUVO.
BTW, if you are wondering why I didn’t go with white cabinets (which would have been my first choice), take a look at my countertop (which is staying). The cream color would not have complimented white cabinets, but the gray and taupe flecks in the counter do look lovely with the Driftwood color from NUVO.
And here’s a closeup of the cabinet above the toilet.
I’m thrilled with the color, overjoyed with the finish, and LOVE the price of the NUVO Paint Cabinet kit (and there’s no odor either)! These updated apartment cabinets cost less than $100! Way less!
If you want more info of painting cabinets, remember this is a 3-part series:
- How to Repair Cabinets the Fast and Easy Way
- How to Prep Cabinets for an Amazing Paint Finish
- DIY Perfectly Painted Bathroom Cabinets in a Day (you are here)
Now It’s Your Turn
Have you painted your apartment or rental home cabinets? What about if you are a homeowner… is this something you would tackle? Be sure to chat with me in the comments!

DIY Perfectly Painted Bathroom Cabinets
You can have perfectly painted bathroom cabinets in a day with this tutorial and my secret weapon.
Materials
- Nuvo Cabinet Paint Kit
- 320 grit sandpaper
- Paint tray
- Zibra Paintbrush
- Small art paintbrush
- Phillips head screwdriver
- Paint can opener of flathead screwdriver
- Cabinet hardware
Instructions
- Paint the sides and backs of the cabinet doors first, using the brush for trims and corners and the provided roller on larger flat surfaces. Do one door at a time in order to avoid areas drying too quickly and causing ridges and puddles (the roller will smooth the strokes left from the brush). Let dry for 2 hours.
- While the doors are drying, paint the cabinet frames the same way as the doors. Do one side at a time in order to avoid areas drying too quickly and causing ridges and puddles (the roller will smooth the strokes left from the brush). Let dry for at least 2 hours.
- After the doors have dried for two hours, paint the sides and backs a second time. Let dry for 2 hours.
- When the frames have dried for two hours, paint the second coat. Remember to sand any bumps, ridges or puddles before painting the second coat. Now you're done with the frames!
- When the doors have tried for two hours, gently lay them on their painted backside. Be sure to use a non-stick surface to lay them on (I used a piece of muslin fabric). Paint the front of the doors, being careful to watch the edges... paint will collect there. Let dry for two hours.
- When the fronts of the doors have dried, you can paint them a second time. Now your cabinets doors are finished being painted.
- Let the doors cure for 8 hours before adding hardware and reattaching to frames.
- Allow cabinets to cure for two weeks before cleaning.
Notes
Pro tip 1: Use the roller on the sides of the doors... it's easier and leaves a nicer finish.
Pro tip 2: If you find any bumps, ridges or puddles, sand the area with 320 grit sandpaper before adding the second coat.
Pro tip 3: You can purchase a one-inch roller to paint longer narrow areas (like the narrow frames around my doors). Be sure to purchase 'smooth finish' rollers.
Recommended Products
As an Amazon Associate and member of other affiliate programs, I earn from qualifying purchases.
-
![Nuvo Driftwood 1 Day Cabinet Makeover Kit]() Nuvo Driftwood 1 Day Cabinet Makeover Kit
Nuvo Driftwood 1 Day Cabinet Makeover Kit -
![Zibra PB200LCS Grip-n-Glide 2-Inch Cut-in Paint Brush Stubby Handle]() Zibra PB200LCS Grip-n-Glide 2-Inch Cut-in Paint Brush Stubby Handle
Zibra PB200LCS Grip-n-Glide 2-Inch Cut-in Paint Brush Stubby Handle -
![Zibra PB100LZR Grip-n-Glide 1-Inch Round Trim Paint Brush]() Zibra PB100LZR Grip-n-Glide 1-Inch Round Trim Paint Brush
Zibra PB100LZR Grip-n-Glide 1-Inch Round Trim Paint Brush -
![FolkArt Plaid Nylon Brush Set, 50559 Brown (3-Piece)]() FolkArt Plaid Nylon Brush Set, 50559 Brown (3-Piece)
FolkArt Plaid Nylon Brush Set, 50559 Brown (3-Piece) -
![Precision Defined Supreme 4-Inch Paint Roller Tray Set (2-Pack), Built for 4-Inch Roller Brushes]() Precision Defined Supreme 4-Inch Paint Roller Tray Set (2-Pack), Built for 4-Inch Roller Brushes
Precision Defined Supreme 4-Inch Paint Roller Tray Set (2-Pack), Built for 4-Inch Roller Brushes


The post DIY Perfectly Painted Bathroom Cabinets in a Day appeared first on my wee abode.